
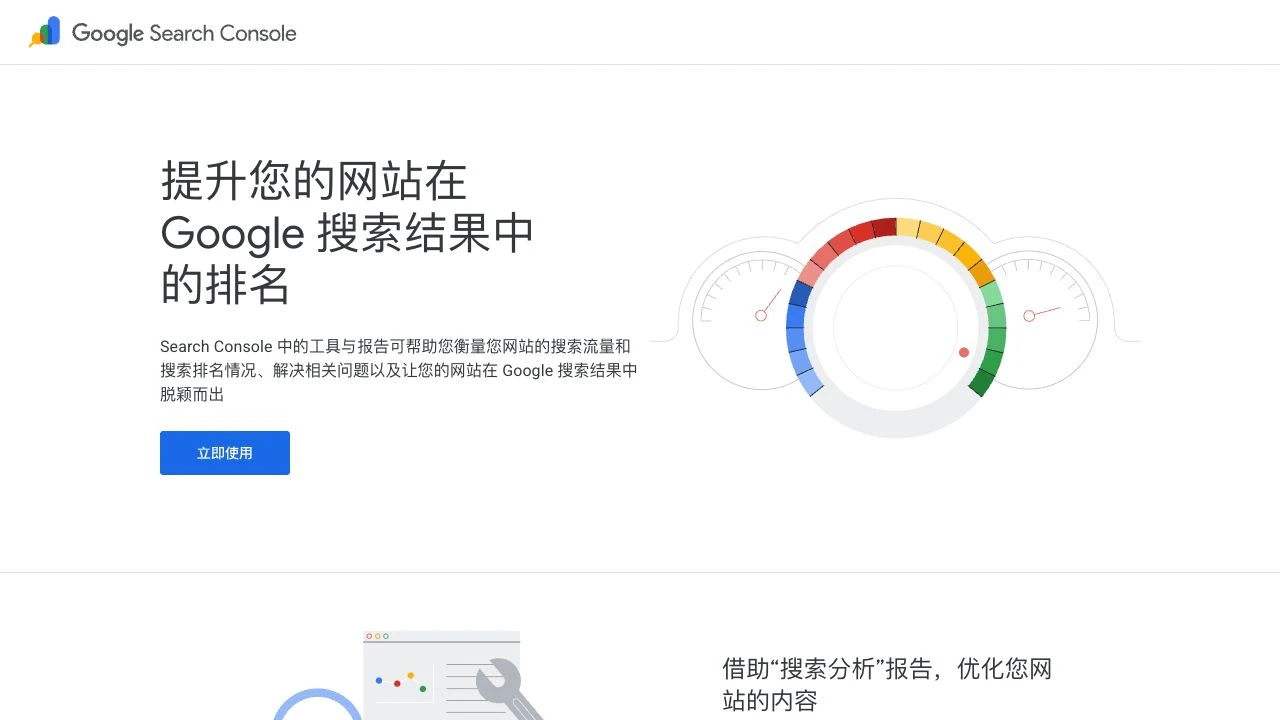
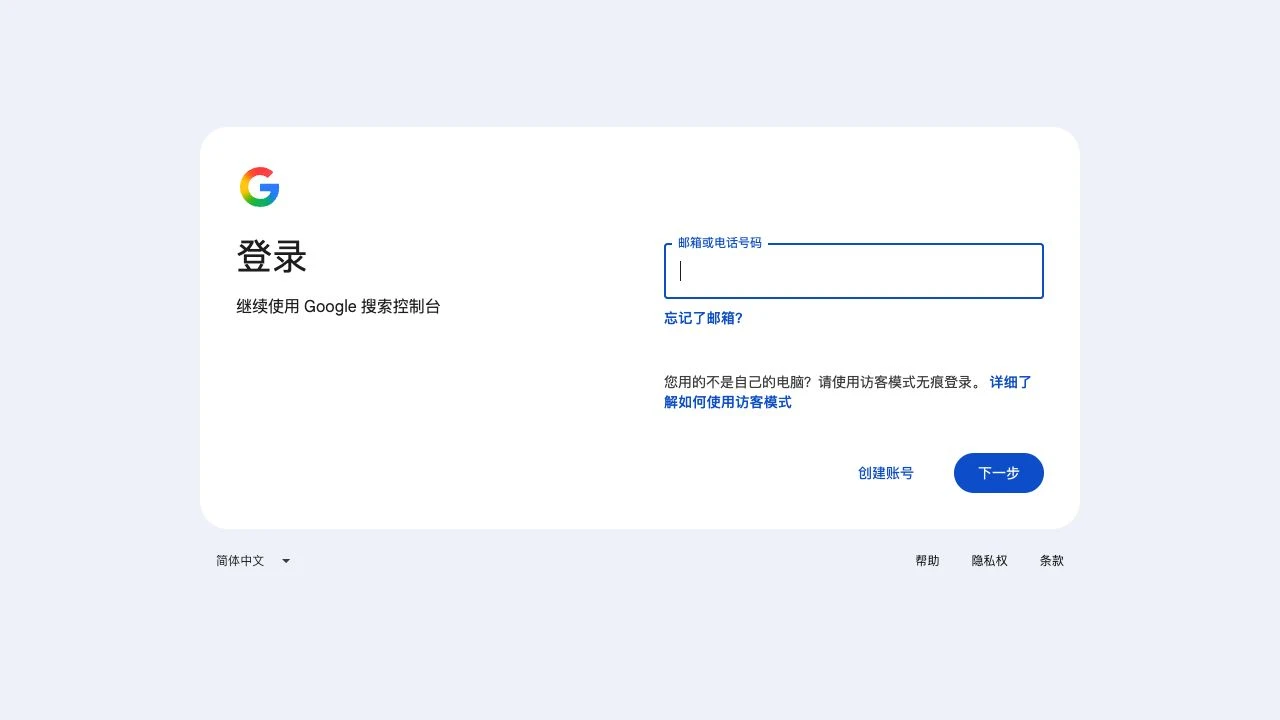
Search Console uses your existing Google account. Have your own website domain and access to its DNS ready. The official entry and login screens were captured. Adding a property, editing DNS, verifying ownership and submitting a sitemap are documented guidance, not completed actions or captured dashboard screens.
Use the official link above and select Start now. We clicked the console link at the bottom of the page and reached Google sign-in.
Use your own Google account, including an existing Gmail account. If you need one, see our Gmail registration guide first.
Follow the first-time setup, or choose Add property from the property selector. Choose the scope that matches what you manage.
| Type | Example | Scope and verification |
|---|---|---|
| Domain | example.com | All protocols and subdomains; DNS verification. Omit protocol and path. |
| URL prefix | https://www.example.com/ | Only the specified prefix; protocol and hostname matter. Use an offered verification method. |
For the root-domain TXT method used here, copy the complete value supplied by Google. If automatic provider connection is offered, review the account and access before approving it; use the offered manual route when needed.
First confirm Cloudflare actually hosts the domain’s authoritative DNS. Select the domain, open DNS → Records and choose Add record. If DNS is hosted elsewhere, add the record there.
| Field | Value |
|---|---|
| Type | TXT |
| Name | @ for this root-domain example; follow Google for subdomains |
| Content | The complete TXT value from your own Google verification window |
| TTL | Auto |
| Save | Review and save. TXT records have no orange-cloud proxy setting. |
Return to Search Console and select Verify. If it fails, check the domain, host, value and authoritative DNS provider, allow for propagation, then retry.
Open Sitemaps in the correct property. Confirm your sitemap URL loads, then submit it. Ask your website team for the actual URL if uncertain.
Check the selected site and its verification status before reviewing indexing or performance. A new property may initially have no data. Invite team members through property access settings according to their responsibilities instead of sharing a Google password.
FAQ and official references
Is Search Console the same as Google Analytics?
No. This guide covers Google search performance and indexing, not Analytics visitor tracking installation.
What if I have Shopify access but no DNS access?
Ask the domain administrator to help, check offered URL-prefix verification methods, or request access from an existing verified owner.
Why does verification fail after saving DNS?
Saving a record does not guarantee it is already visible publicly. Check the authoritative provider, domain, host and value, and allow time for propagation.
Will setup immediately get my pages indexed?
No. Ownership verification, sitemap submission and Google indexing are separate processes.
Next, let’s work together.
Share this guide with a colleague or contact your RIFY project lead.
Contact RIFY ↗Read next: How to create a Gmail account →Read next: What to prepare before your project starts →Read next: How to sign up for Cloudflare with email →Read next: How to buy a domain on Cloudflare →Read next: How to register a Shopify store →Read next: How to set up Google Analytics 4 (GA4) →Read next: How to grant RIFY GA4 administrator access →Read next: How to grant RIFY Search Console access →Read next: How to grant RIFY Shopify administrator access →